Social Rabbit allows editing and posting photos to your Instagram Stories.
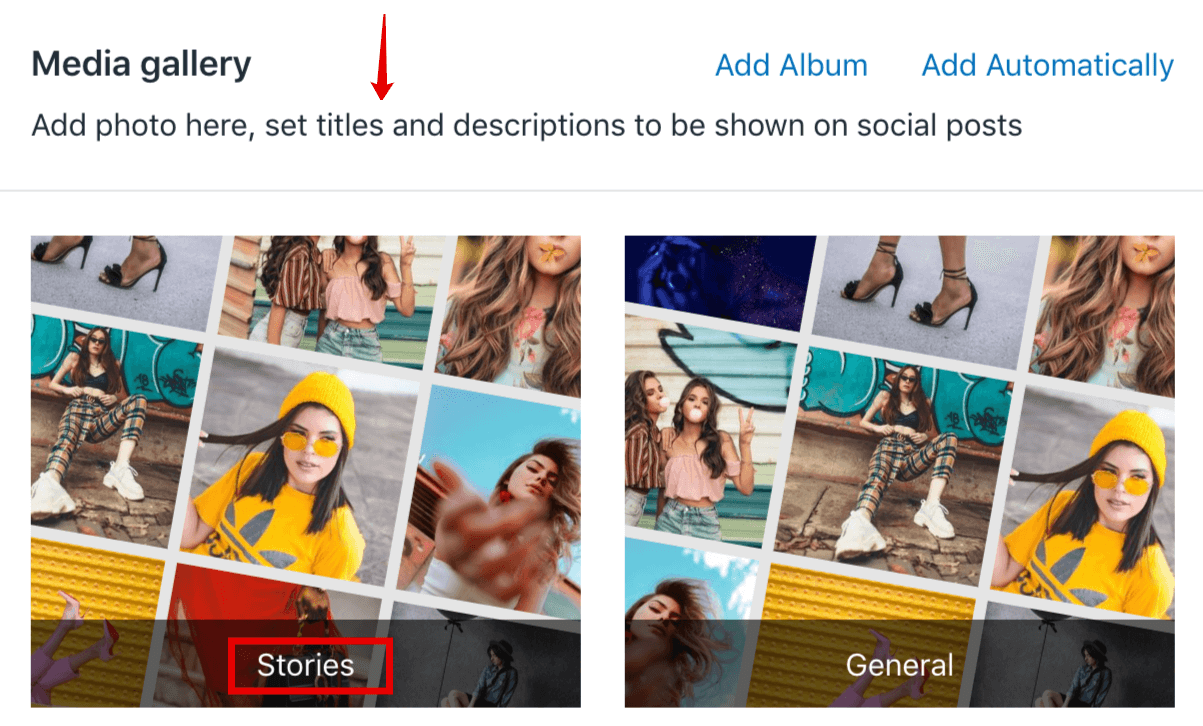
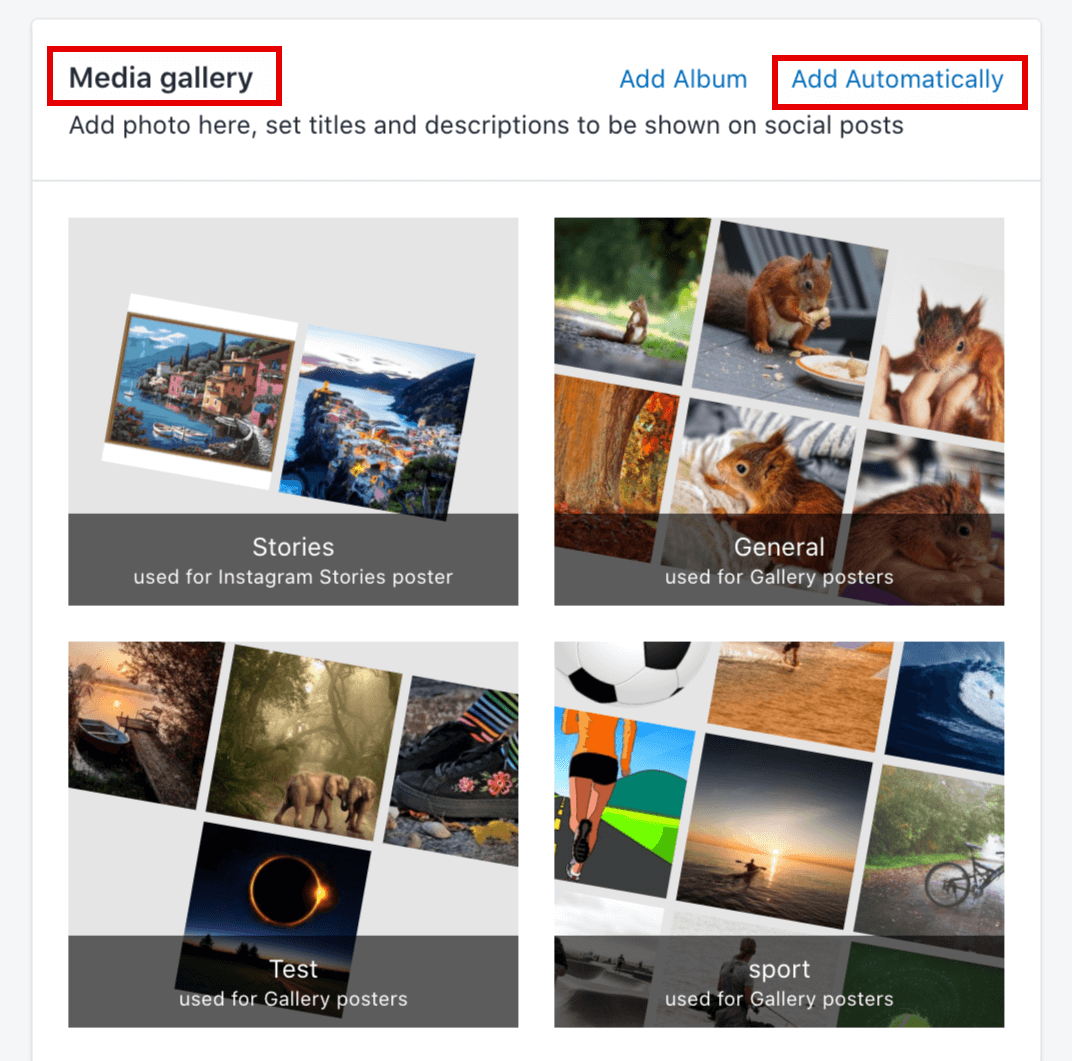
Please note, all the necessary files should be downloaded beforehand to Album
“Stories” in your Gallery, created by default.
Step 1. Go to Instagram -> Stories and click “Media Settings” to get to Media Gallery.
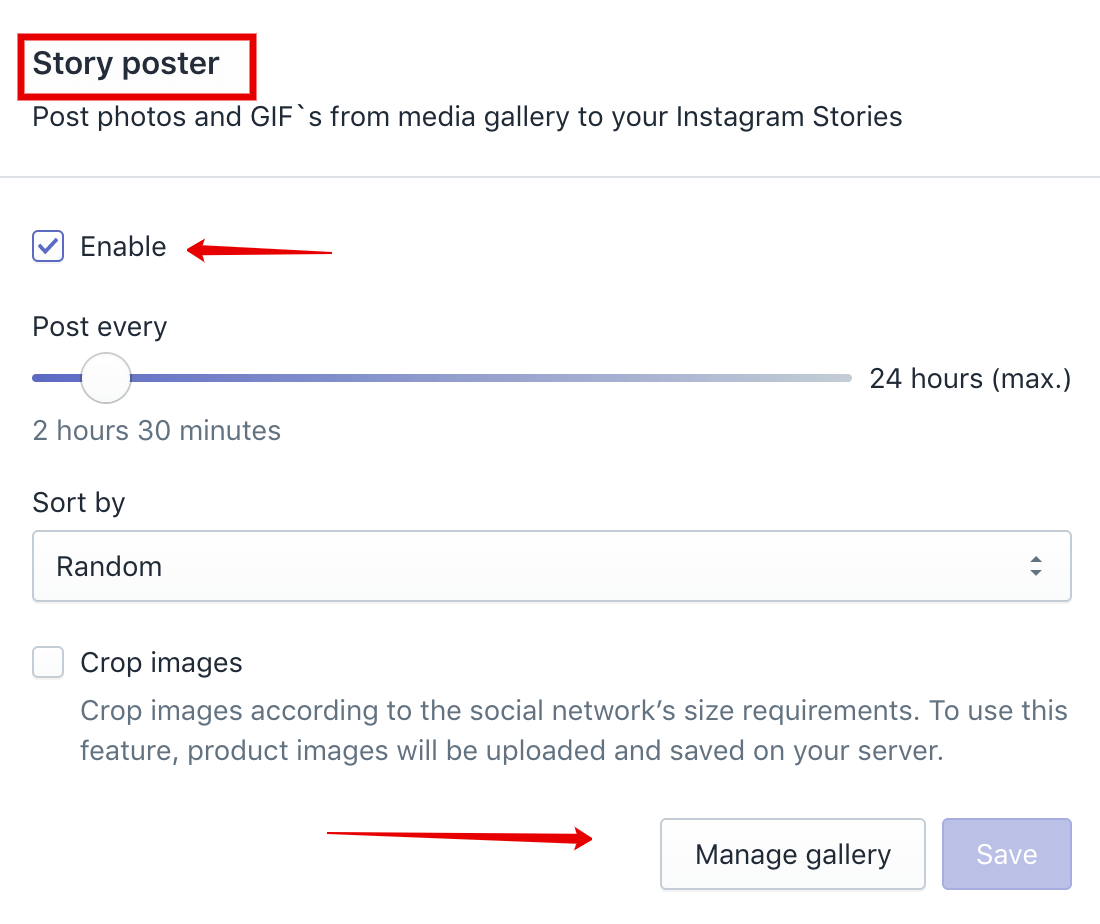
Choose “Upload files”, select images or video files you want to add and click “Save”.
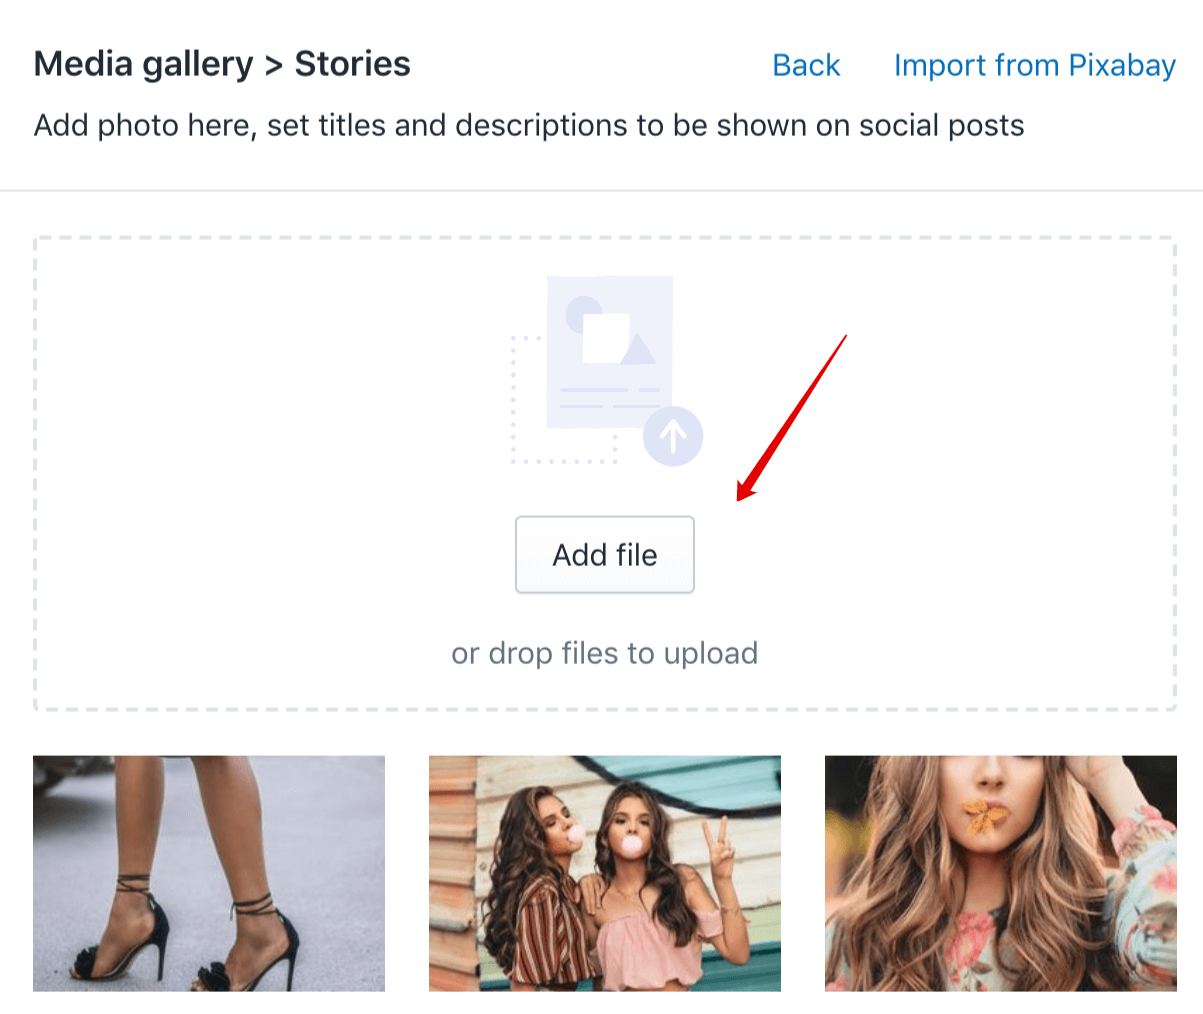
Another way to upload your images/videos is to go to Settings -> Media Gallery, choose
Album “Stories”and click “Add Media”.
Step 2. You can use the built-in “Image Editor Tool” right in Media Gallery. Choose an
image and click the magic wand icon.
Perform necessary actions and save changes.

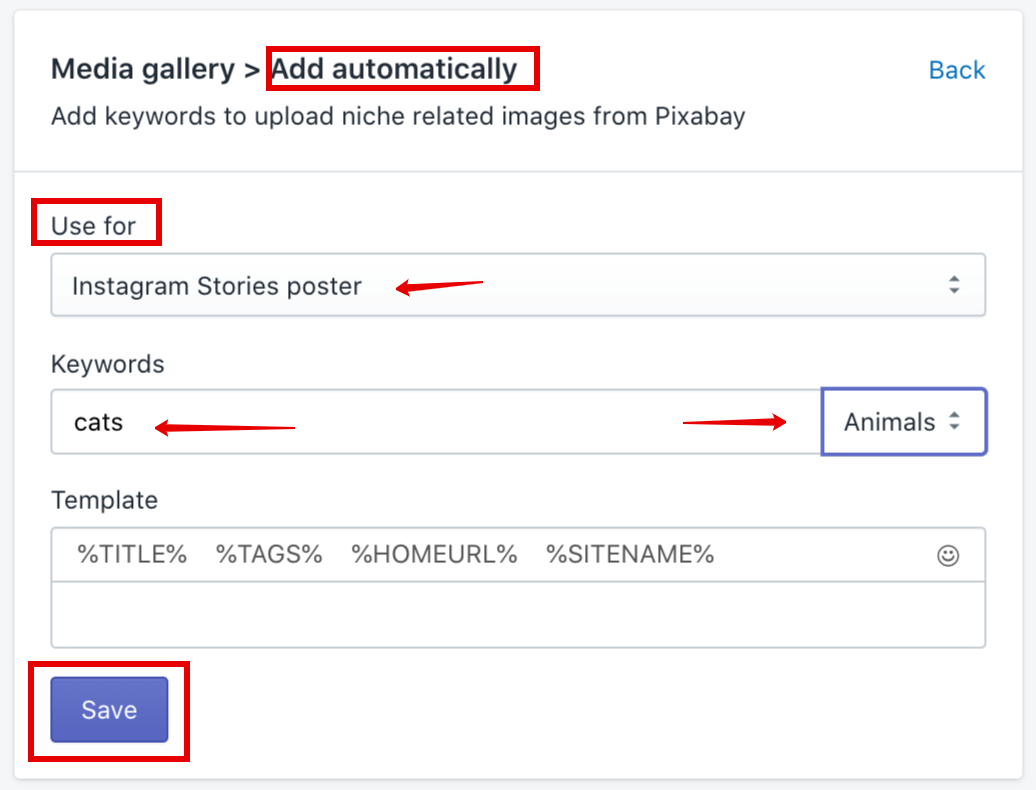
You can also create an Auto Album for Stories, which will automatically upload pictures from a Service according to the keywords you set. Click “Add Automatically” in the top right corner of your Media Gallery
Select “Instagram Stories poster” at “Use for section”, enter the keyword and choose the category if needed.
Don’t forget to click “Save”.
This album starts uploading pictures, according to tags you’ve set. It will upload a required amount of new pictures to post and also delete the old (already posted) ones.
We recommend using “4:5” or “2:3” presets for images to be published in Stories, or just
choose “Manual size” and set 1080 х 1920 px resolution.
Note: You should use the files that meet certain requirements of the social network:
Image:
- Supported image media types: JPG, PNG, GIF, WEBP
- Dimensions: not less than 640×640px
- Image size <= 5 MB

