Social Rabbit allows editing and posting photos from Media Gallery to your Pinterest account.
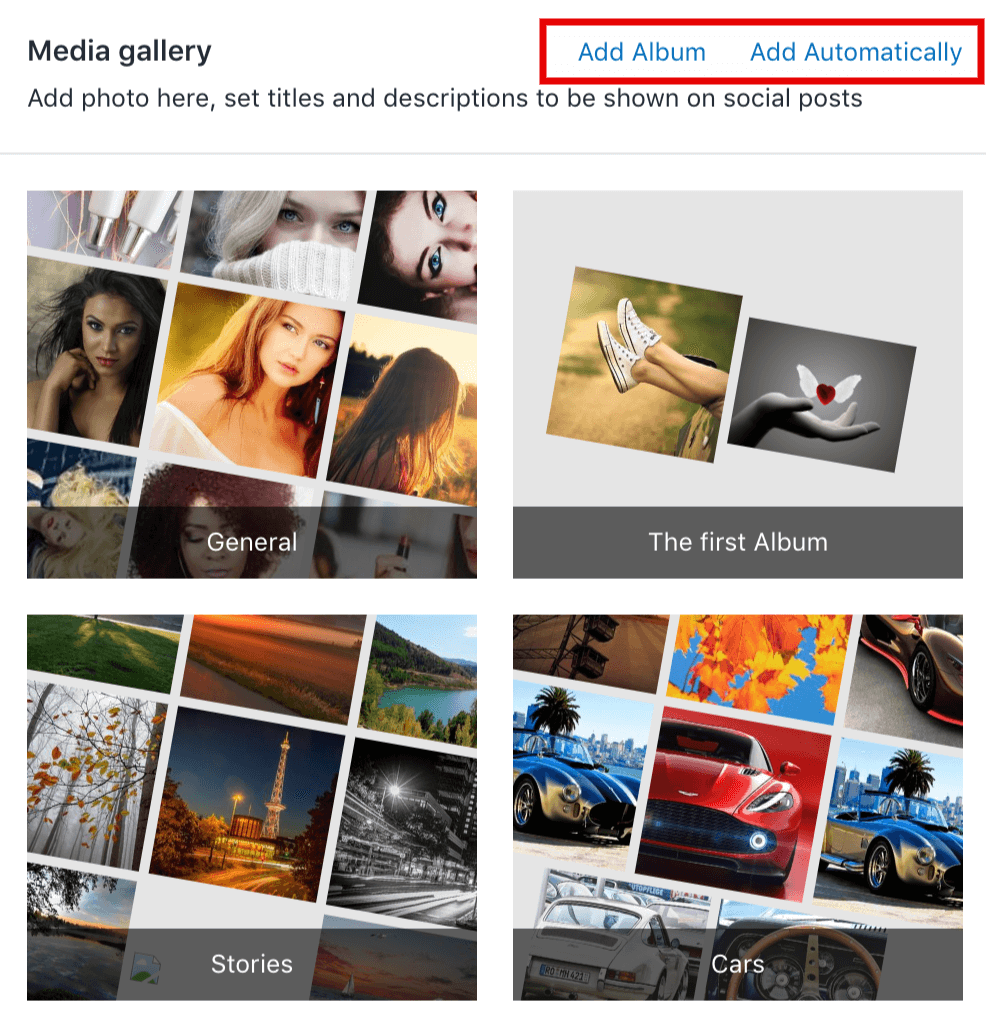
You should prepare and add necessary materials beforehand by uploading to the Gallery. There are two ways to do it.
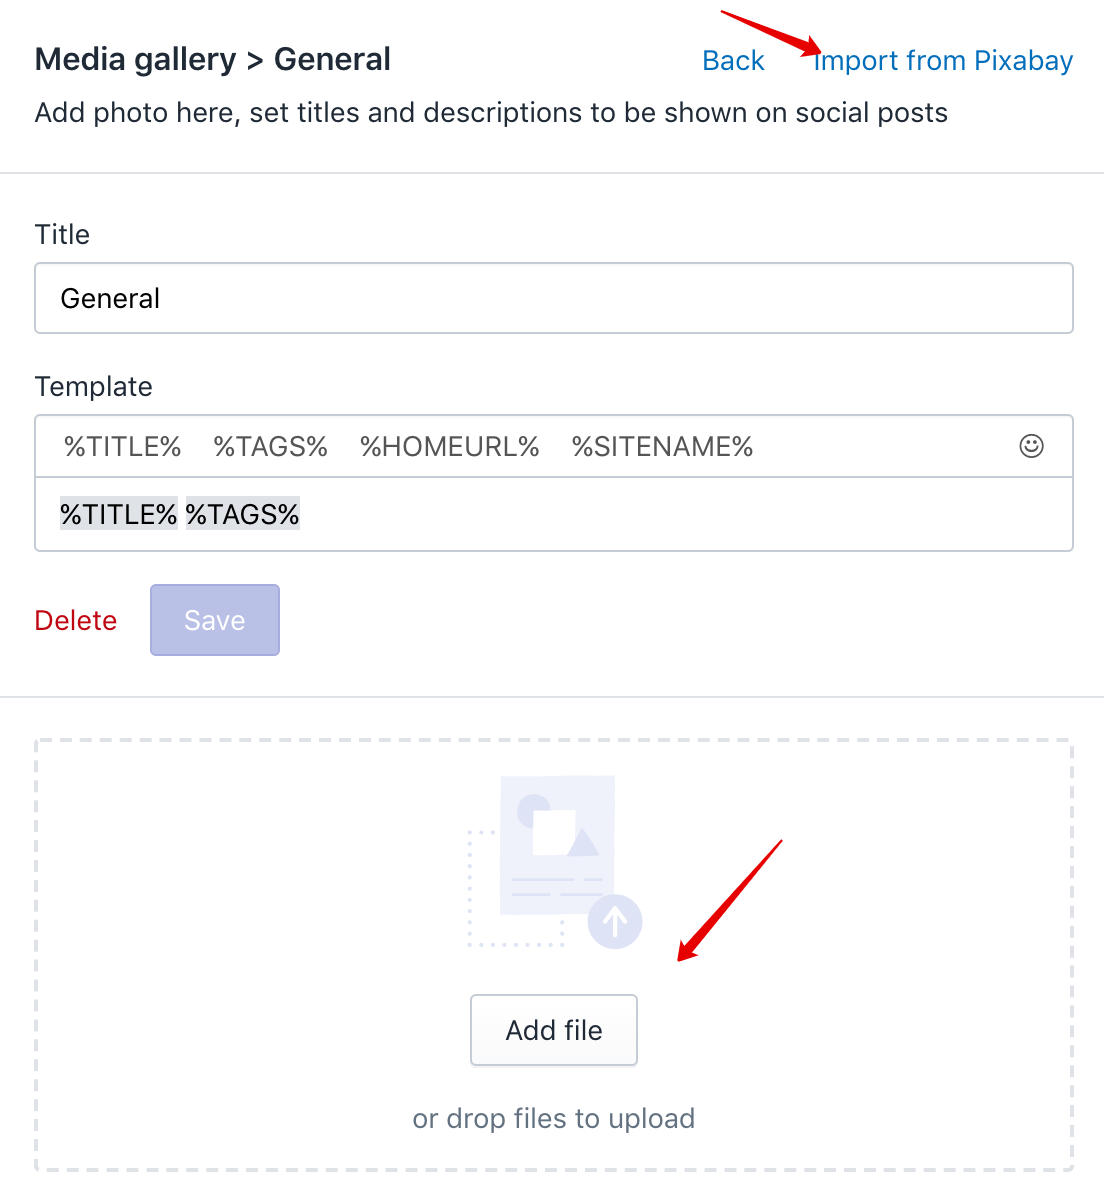
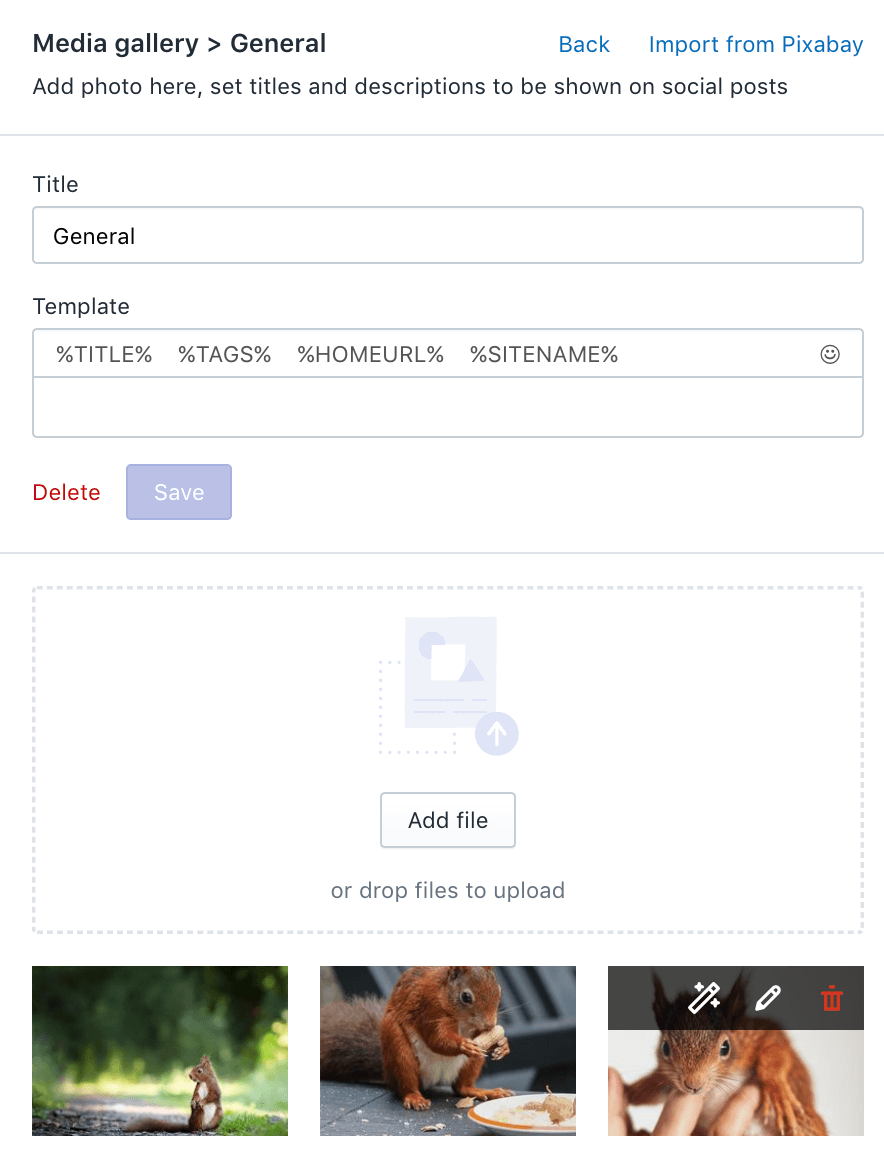
Step 1. Go to Settings -> Media Gallery and click “Add Media”.
Choose “Add file” or “Click from Pixabay”, select images you want to add and click “Save”.
Another way to upload your images is to go to Pinterest -> Gallery and click “Media Settings” to
get to Media Gallery. Add as many photos as you want and click “Save”.
Add as many photos and video files as you want and click”Save”.
Or you can also import images from Pixabay.com straight to Media Gallery.
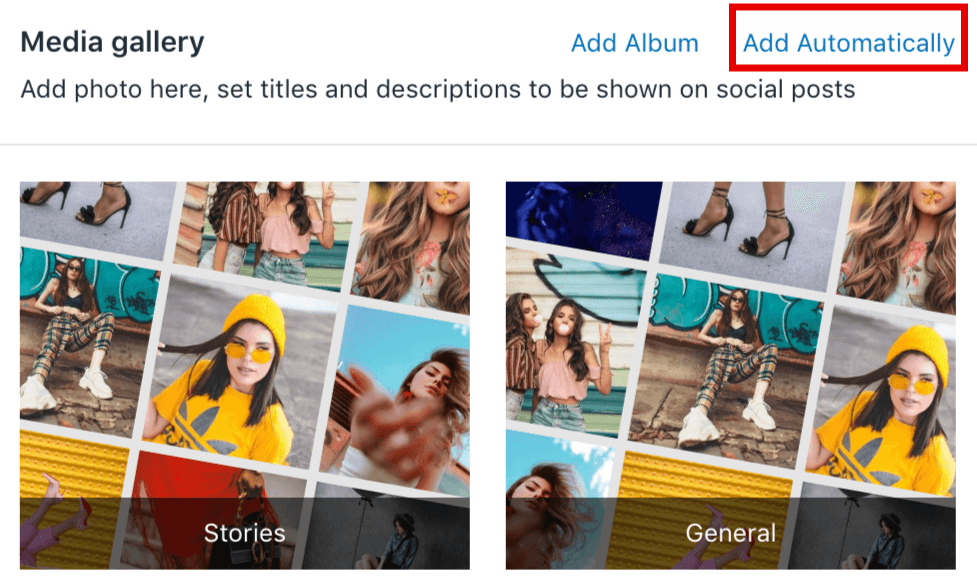
You can also create an album, which will automatically upload pictures from a Service according
to the keywords you set. You need to click ‘Add Automatically’ in order to create such an album.
For example, using Pixabay.com service you can search images by keywords or categories to find
necessary content.
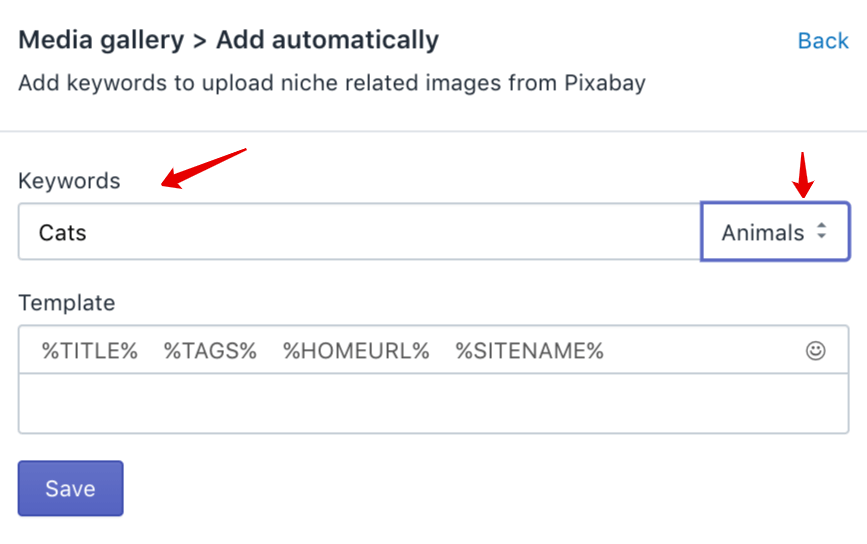
Click ‘Save’, and after 10 minutes this album starts uploading pictures, according to tags you’ve
set. This album will upload a required amount of new pictures to post and also delete the old
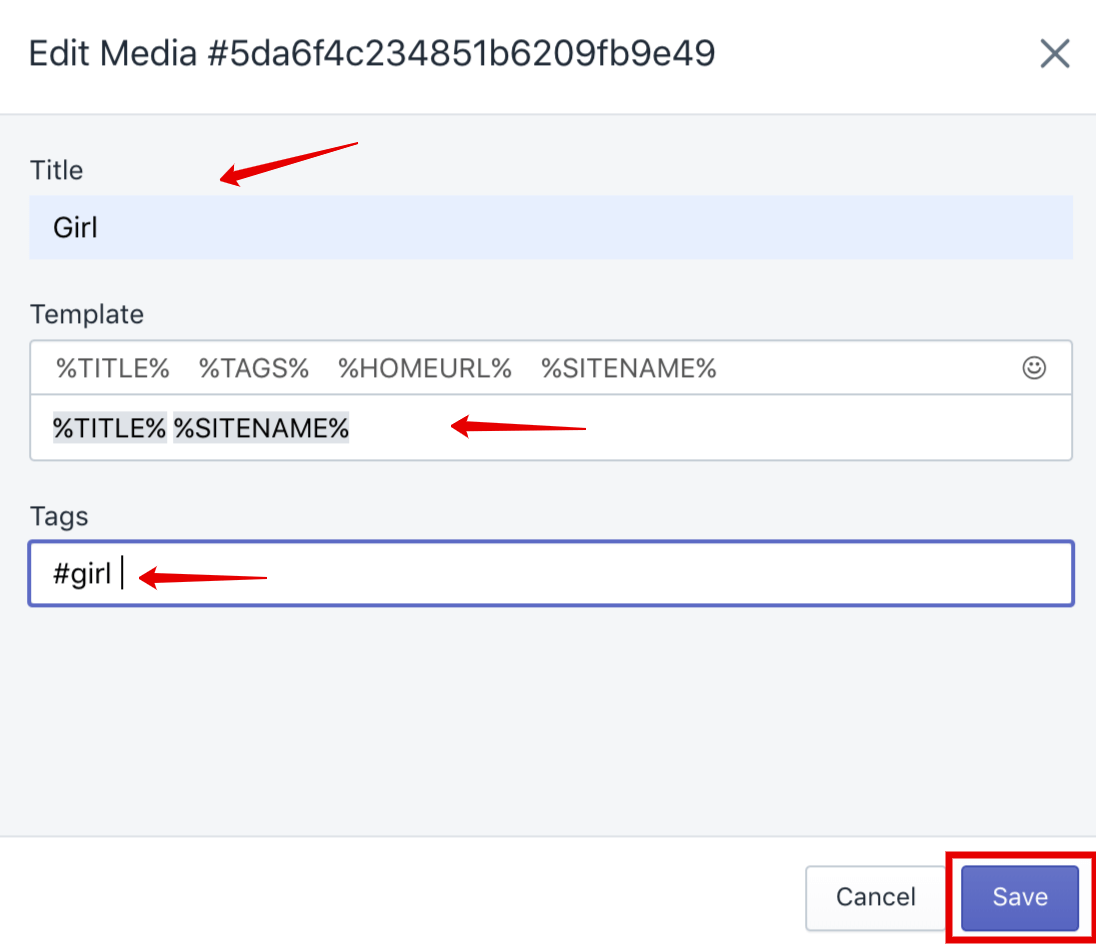
(already posted) ones. You can use the built-in Image Editor Tool right in Media Gallery.
Choose an image and click the magic wand icon.
Perform necessary actions and save changes.

Click the pencil icon, choose the album, edit title and template for any file of Media
Gallery if needed.
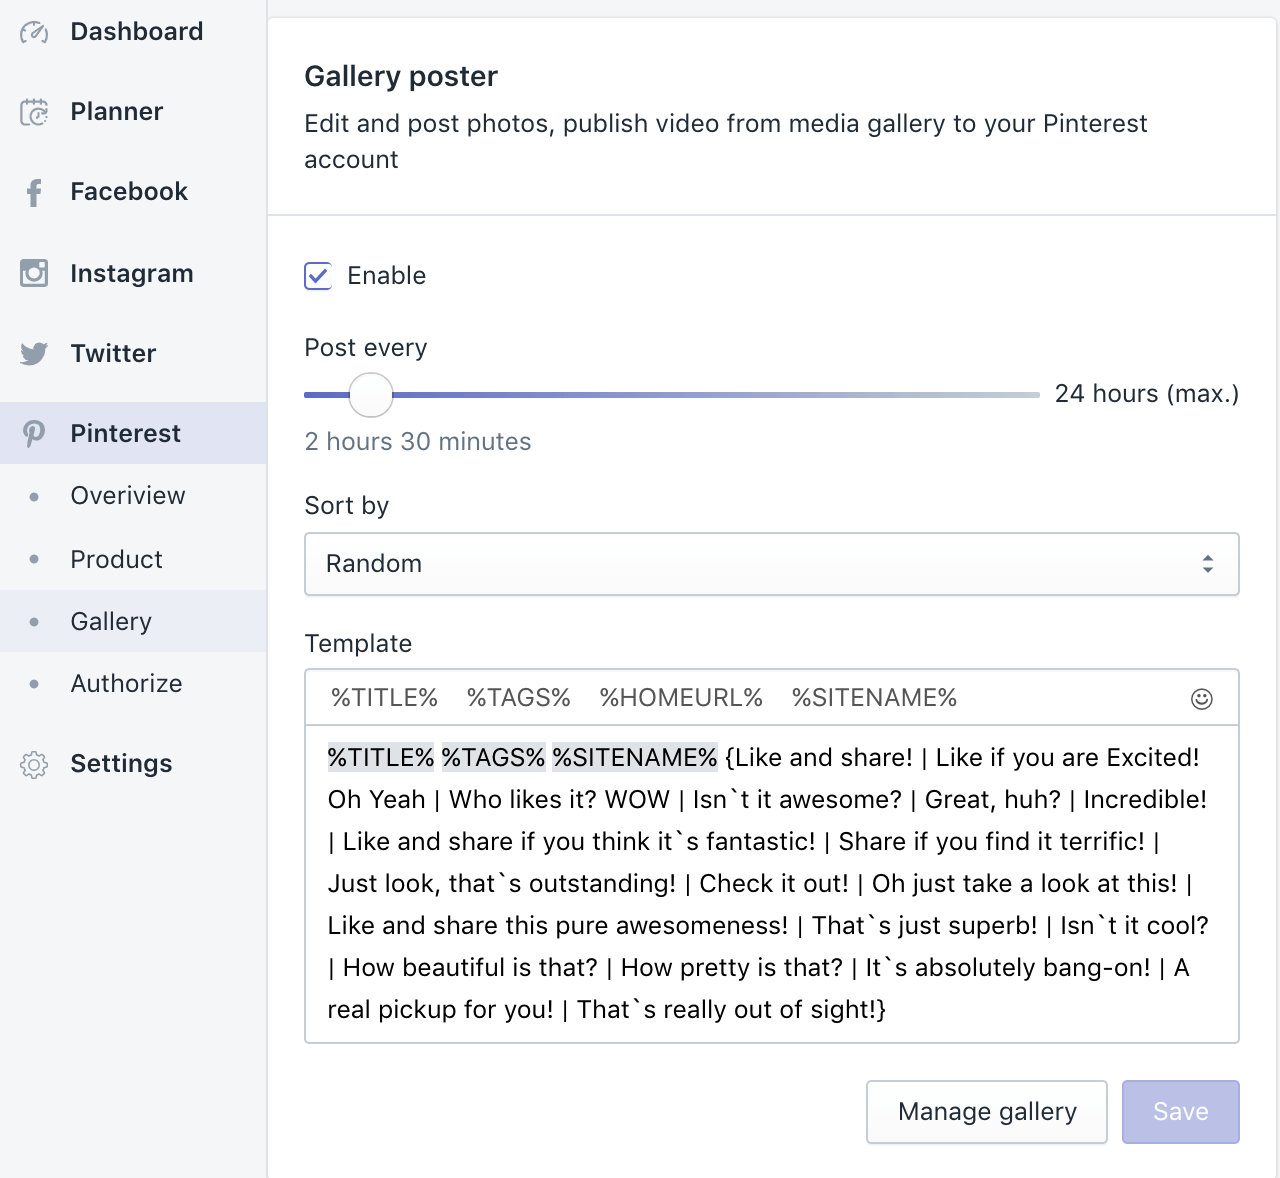
Step 2. In Facebook Gallery we need to adjust the Gallery Poster Settings.
Choose posting time, select a post-sorting type and fill in the “Template” form.
You can also click “Crop images” and activate the option to automatically adopt
an images size to the Instagram requirements.
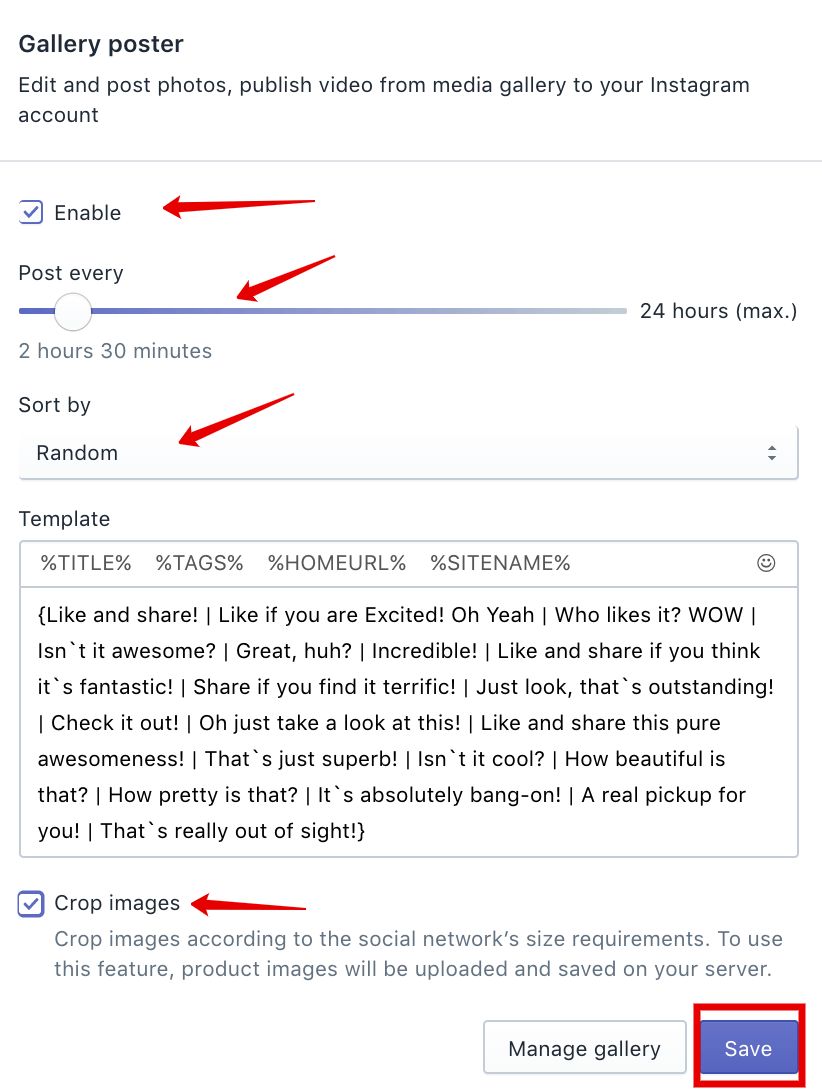
Don’t forget to click “Save”.
If you don’t want to share the images from all the Albums, you can make any Album
inactive or vice versa:
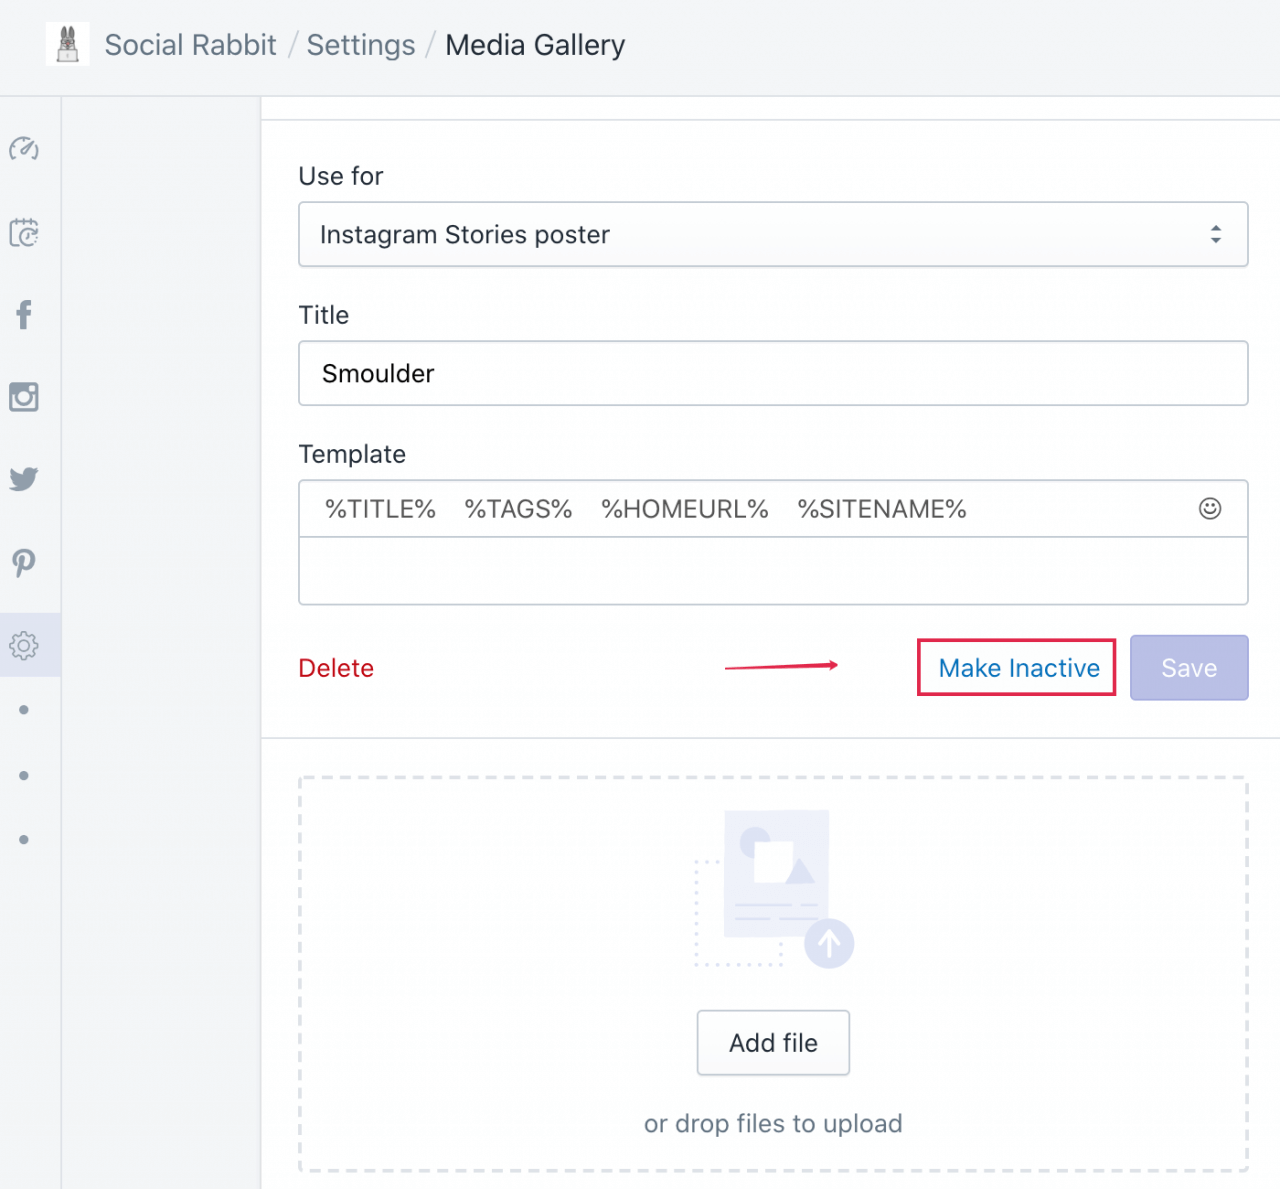
You can also add the following variables to the template to include them to a post:
%TITLE% – product title or post title
%TAGS% – hashtags
%HOMEURL% – home url link
%SITENAME% – website name
Note: You should use the files that meet certain requirements of the social network:
Image:
- Supported image media types: JPG, PNG, GIF, WEBP
- Dimensions: not less than 640×640px
- Image size <= 5 MB

