This tool publishes products from your website to your Pinterest account.
Step 1. Go to “Poster” in the left sidebar. Choose posting time, select a post-sorting type, enter hashtags and fill in the “Template” form.
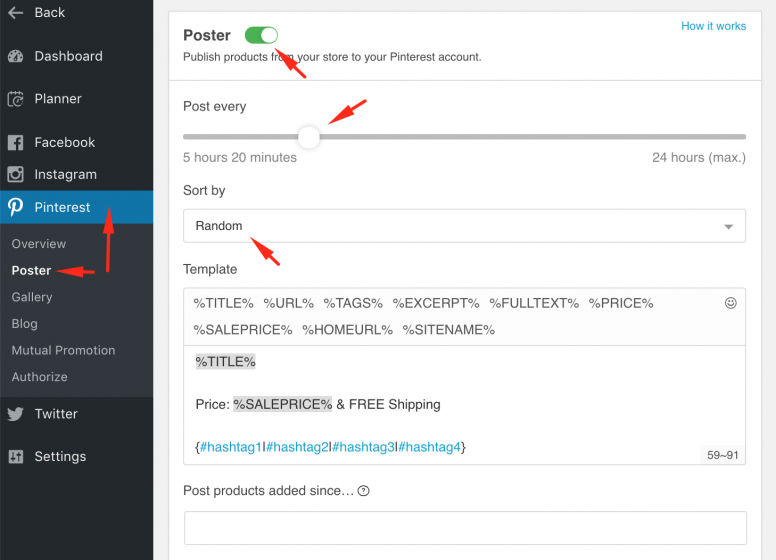
You can add the following variables to the template to include them to a post:
%TITLE% – product title or post title
%URL% – product link
%TAGSCAT% – hashtags of category
%TAGS% – hashtags, generated automatically or added manually on product page
%PRICE% – product price
%SALEPRICE% – discount price
%HOMEURL% – home url link
%SITENAME% – website name
If you want to make your posts more distinctive you should create more variants in templates.
Use the curved brackets at the beginning and at the end, fill in your variants dividing each of them with vertical lines as shown below. The variants of inscriptions will be taken randomly.
{Just some inspo. Like and save! |Save if you like this! | Just look… | Check it out! | We thought this was neat! | We love this. | Good, no? | How beautiful is this? | How amazing is this? | Yes Yes Yes | Yes!| We had to share this!}
The same is with hashtags, you can create hashtag groups ( up to 6 hashtags in each), dividing them with vertical lines:
{#shirts #fashion #shirt #tshirt #tshirts|#style #clothing #mensfashion #clothes #menswear|#customshirts #apparel #shirtstyle #shirtdesign #tshirtdesign #tees|#streetwear #shirtshop #shirtsforsale #ootd #tee #bhfyp}
Don’t forget to save all the changes.
Step 2. You can make Social Rabbit post products that were added to your store since definite date, if needed. You can exclude the definite categories from Poster, if choose them in proper section. Don’t forget to save the settings.
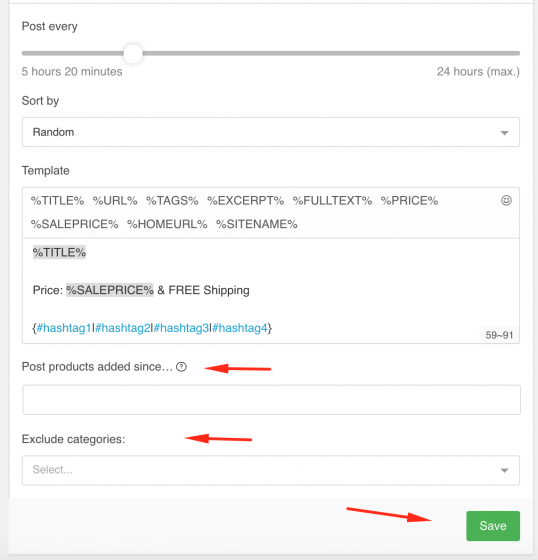
Step 3. Click “Save” and “Test Post” for checking.
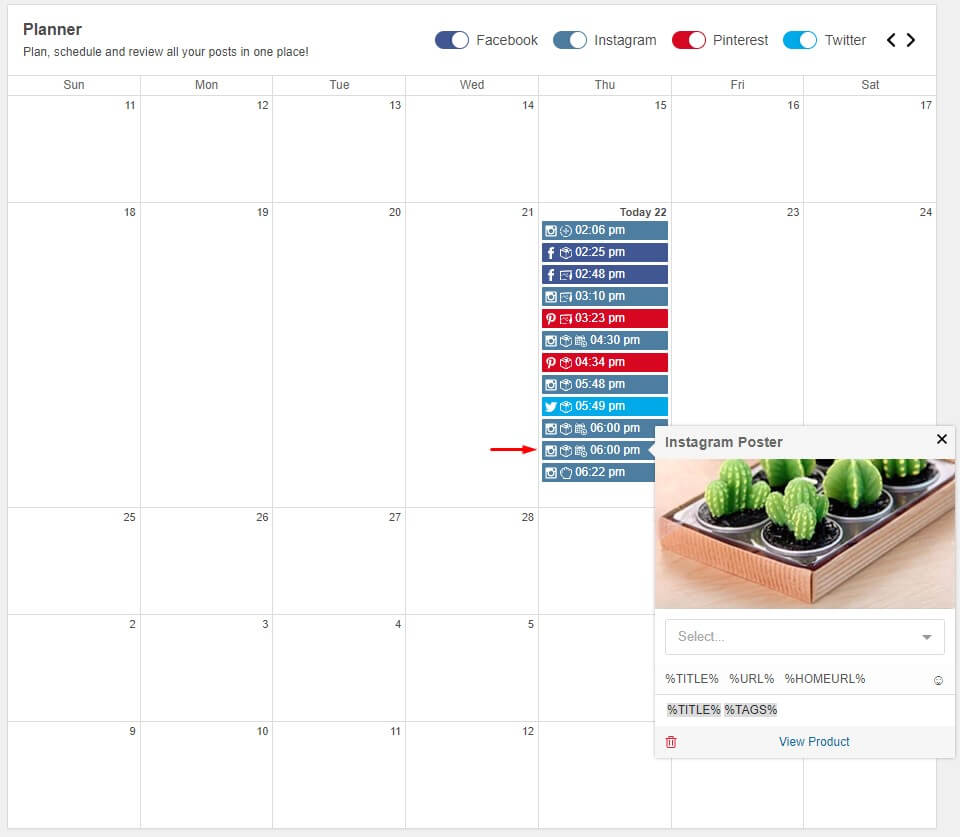
Planner is a special section of Social Rabbit plugin, where you can observe all your posts to be published.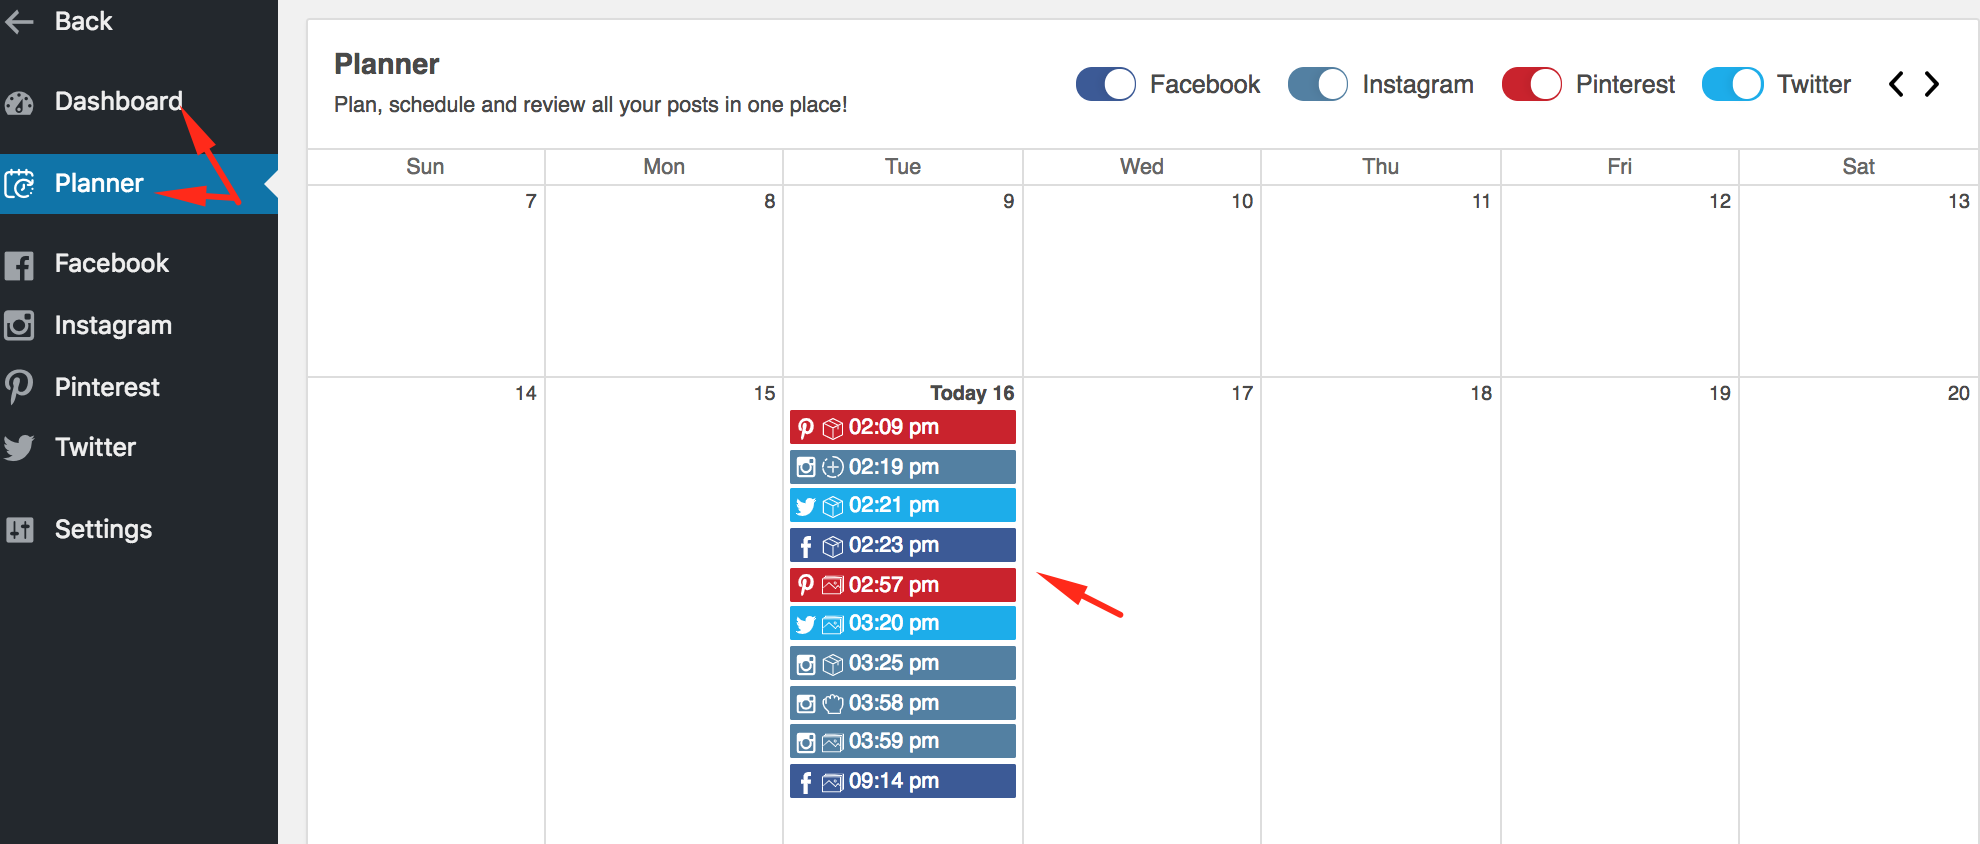
You can also schedule your posts right from the Planner section. If you want to schedule the publication (on the 17th of October for example), click on the proper section to create an event.
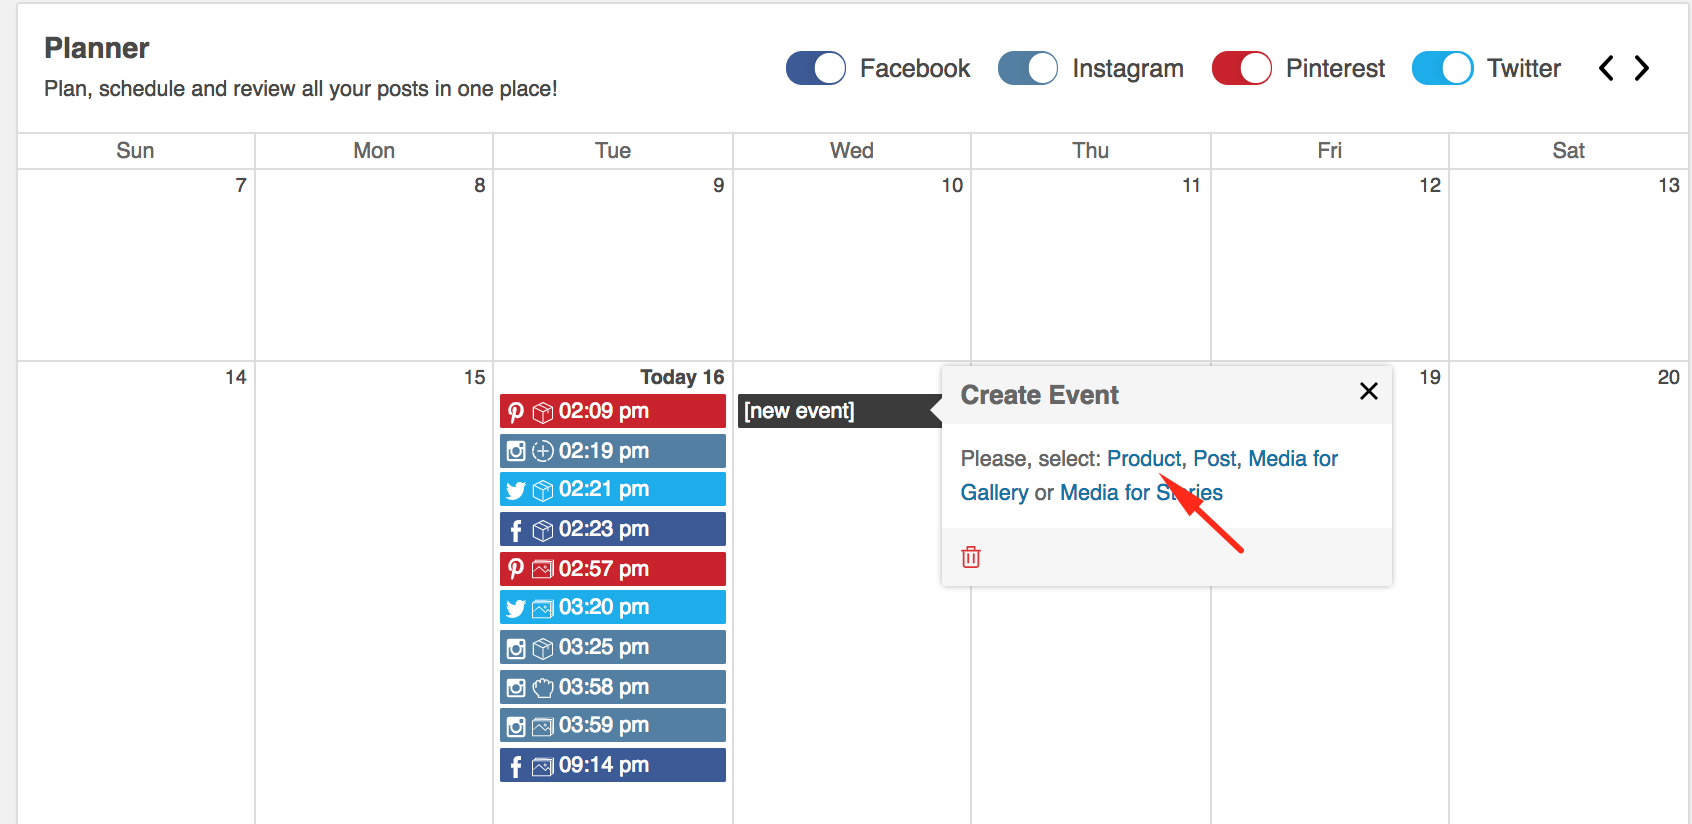
Click on the type of event and perform the necessary actions.
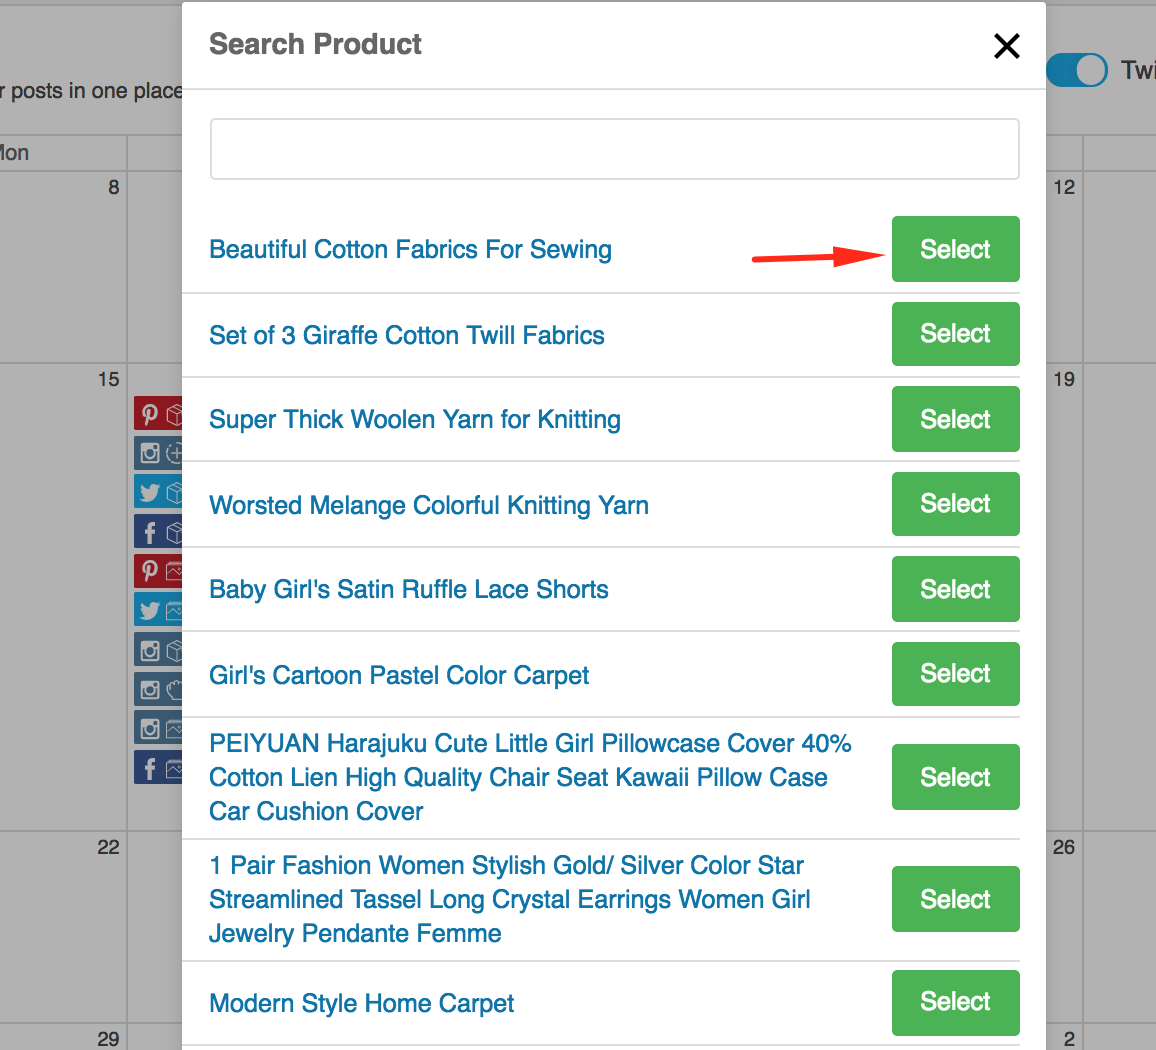
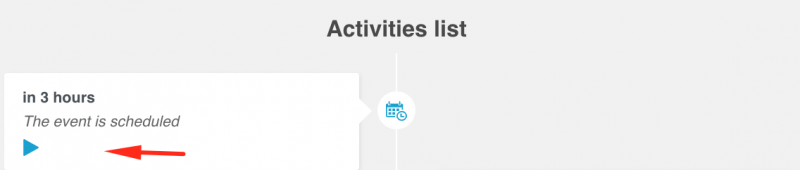
Choose the social network, time of publication, edit the template (or use a default) and click “Save”. The event will be scheduled.
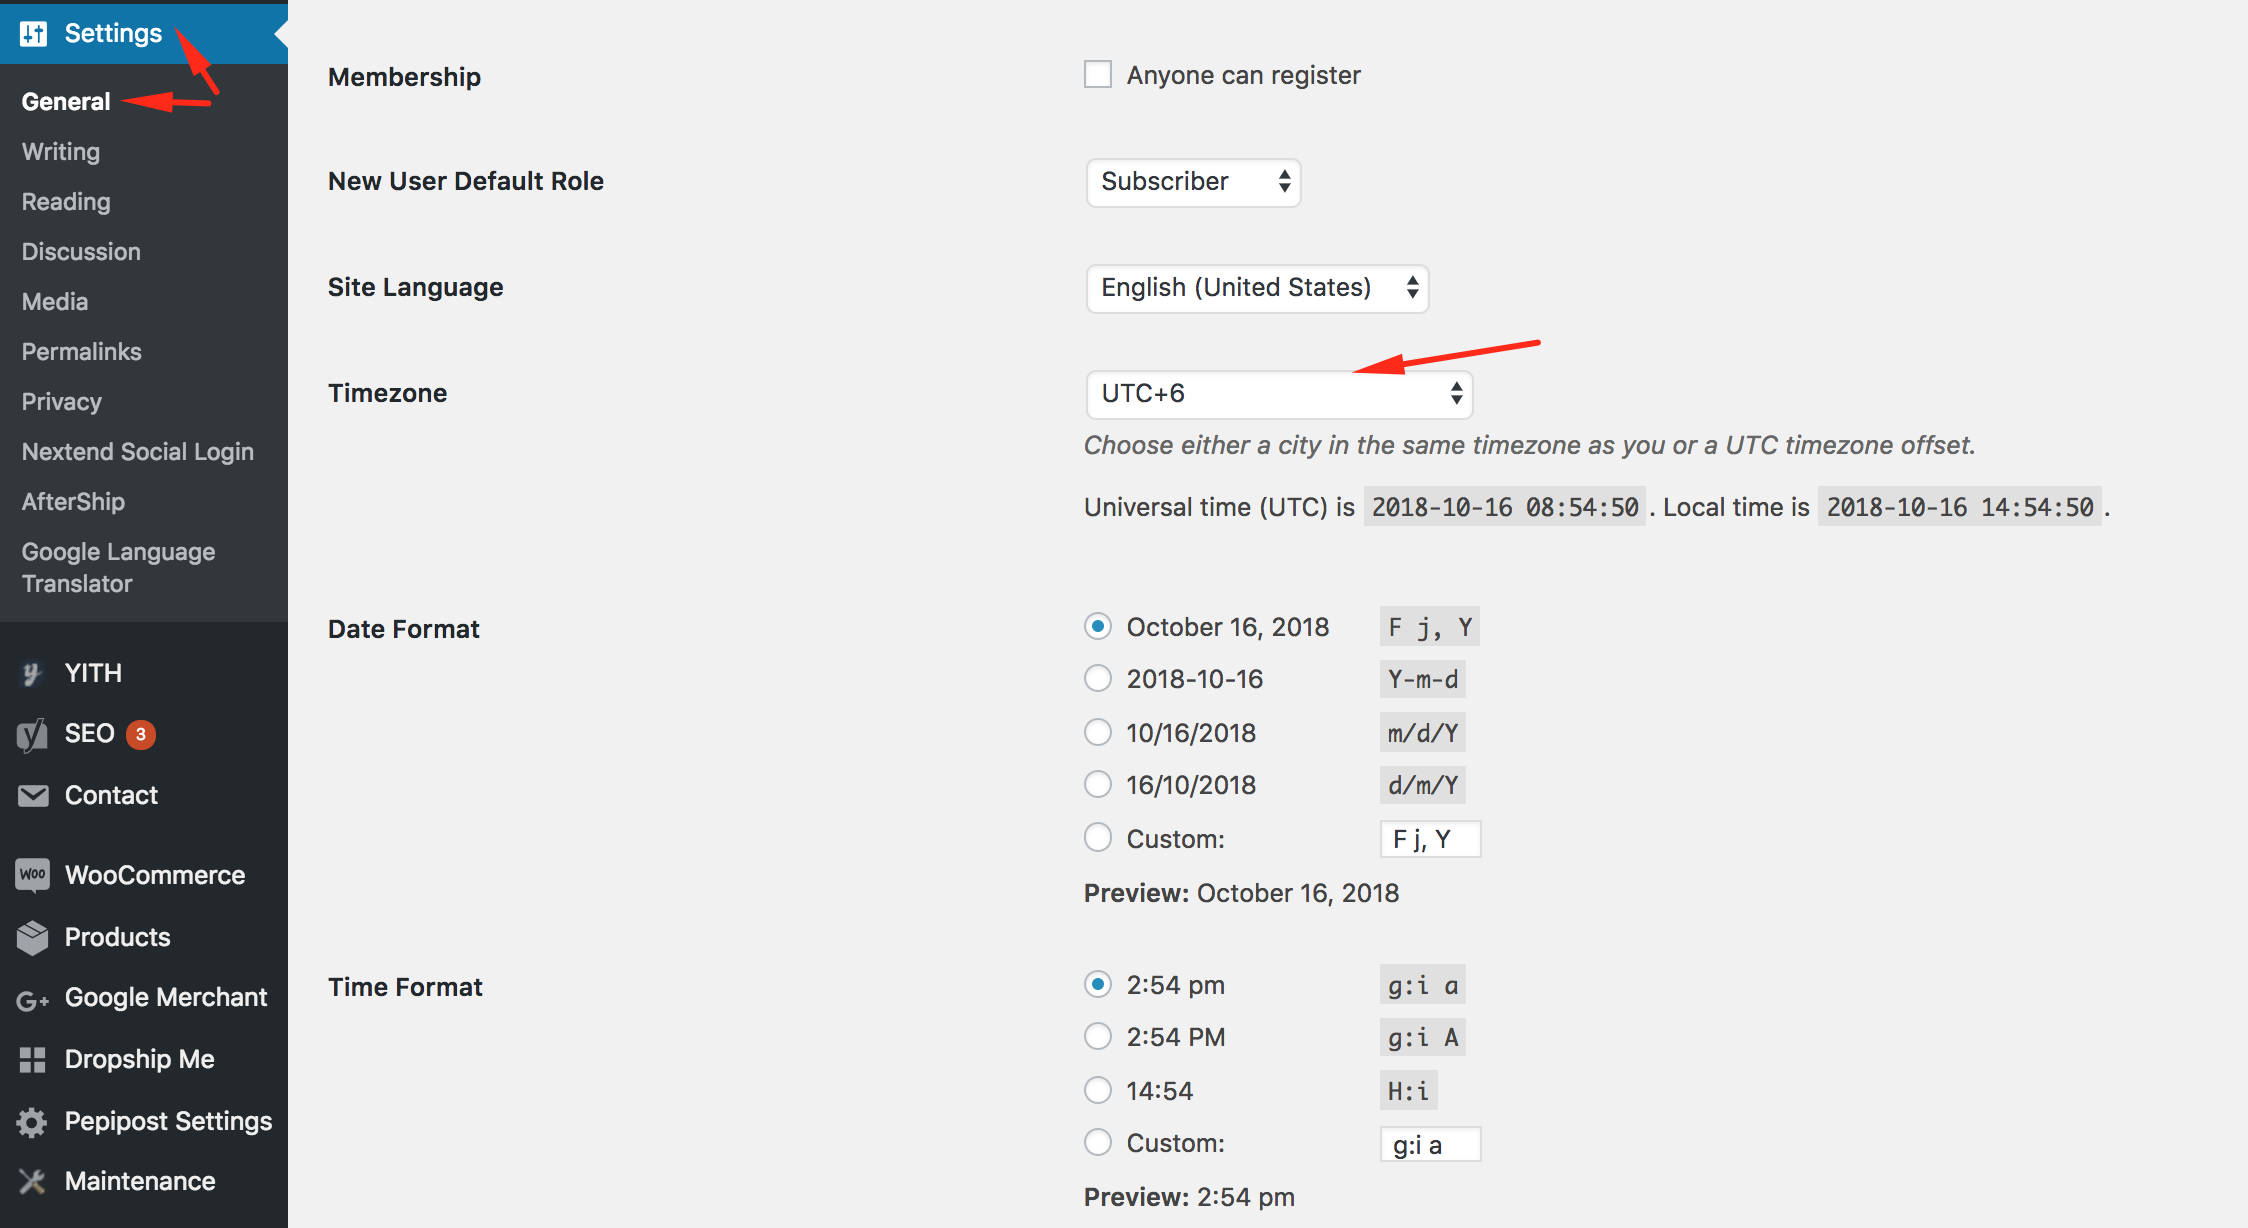
To make sure the event is scheduled for the right time, check the time zone settings on your website.
Go to WordPress admin area -> Settings -> General.
There are also several ways to schedule a Product Post manually from the Product Page:
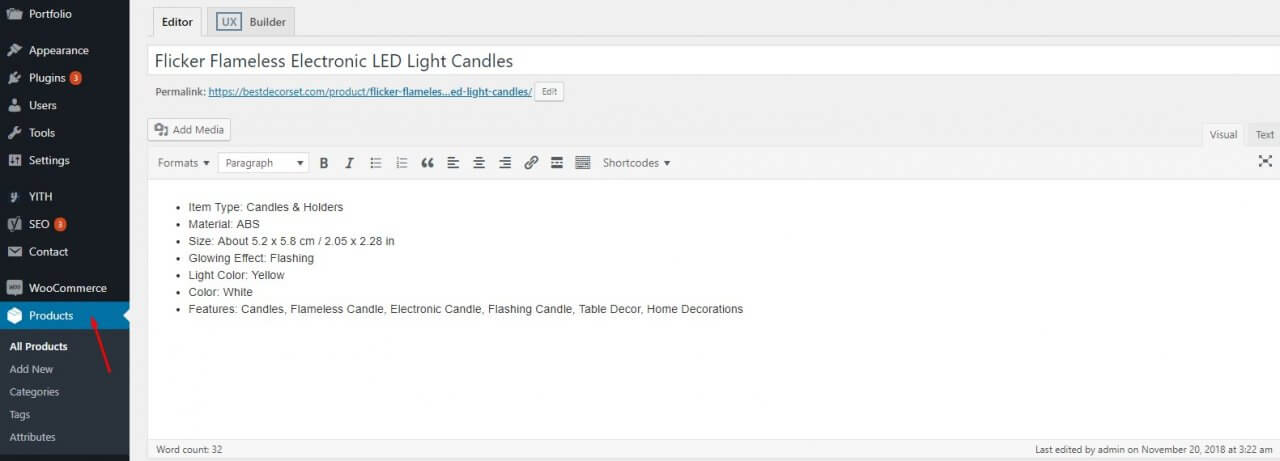
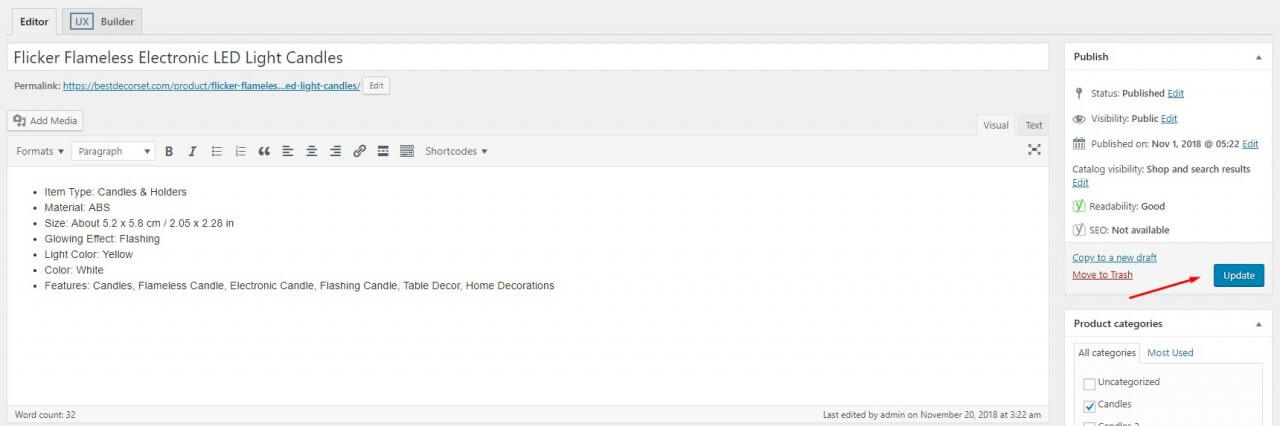
Step 1. Go to Products in your WordPress admin area, choose the product you want to schedule a post with and click “Edit”. You will get to the Product page details
Step 2. Now scroll down the Product page and find Social Rabbit Auto-Poster settings there. Choose the date and the time for posting, edit template (if necessary) and choose the social networks to post in.

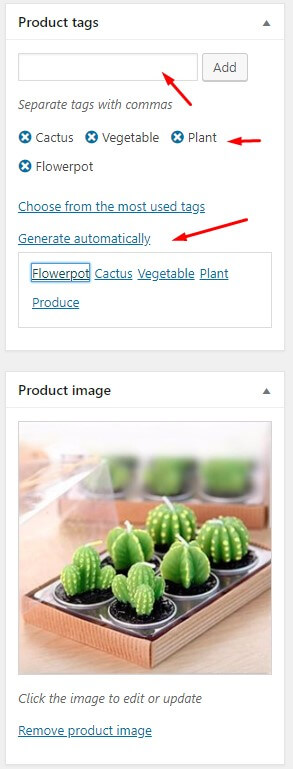
You can also use Hashtag Generator on the Product Page- it analyses Product Featured Image on the basis of computer vision and suggests the related hashtags. You can also add them manually or choose from the most used tags. Using %TAG% variable in the template, you will automatically include Hashtags of definite products into Poster, Gallery or Blog Template.
Click “Update”.
Step 3. You can go to the Planner section of Social Rabbit plugin and check if your Product post is scheduled now.