There are several ways to schedule a Product Post manually:
1. Right from the Planner page
2. From the Product Page
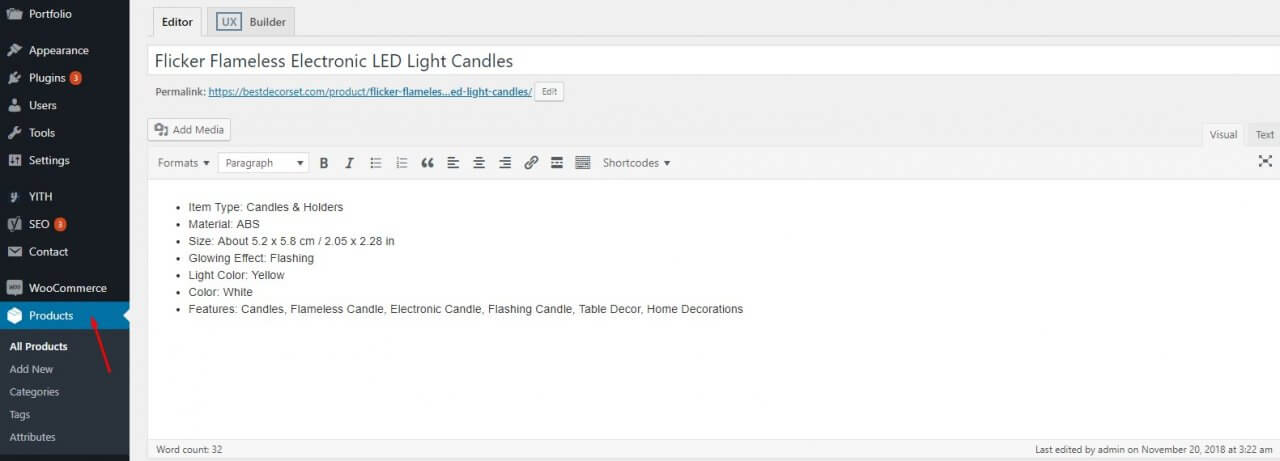
Step 1. Go to Products in your WordPress admin area, choose the product you want to schedule a post with and click “Edit”. You will get to the Product page details
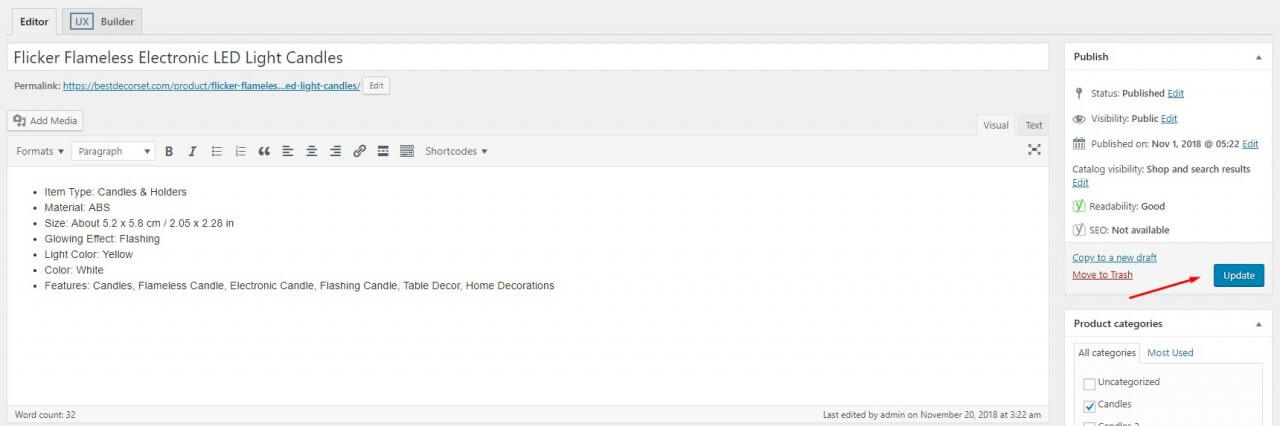
Step 2. Now scroll down the Product page and find Social Rabbit Auto-Poster settings there. Choose the date and the time for posting, edit template (if necessary) and choose the social networks to post in.

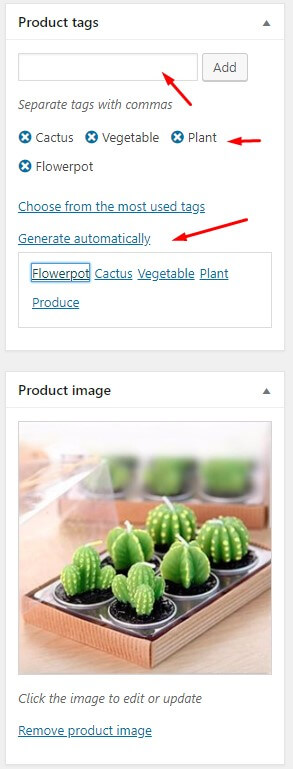
You can also use Hashtag Generator on the Product Page- it analyses Product Featured Image on the basis of computer vision and suggests the related hashtags. You can also add them manually or choose from the most used tags. Using %TAG% variable in the template, you will automatically include Hashtags of definite products into Poster, Gallery or Blog Template.
Click “Update”.
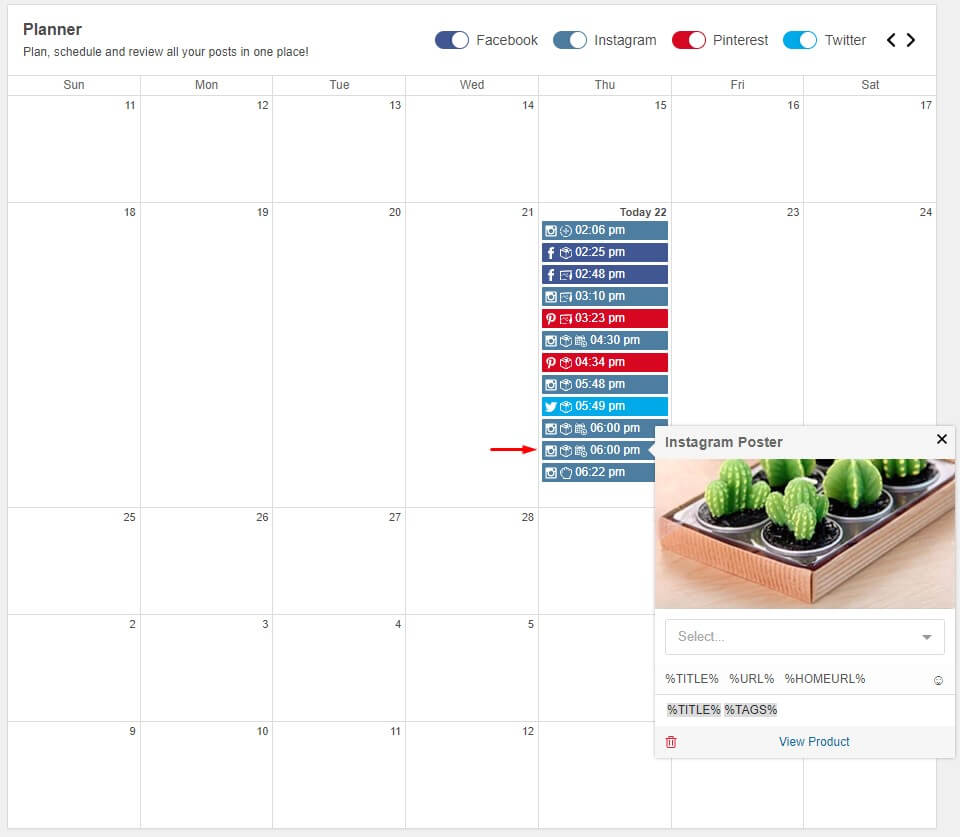
Step 3. You can go to the Planner section of Social Rabbit plugin and check if your Product post is scheduled now.